Installing solar panels on your RV is a weekend project that pays off with free, quiet power at every campsite. A typical 400W install takes 4-6 hours with basic tools, requires planning the roof layout, sealing every mount, and running cable to the charge controller and battery. This step-by-step guide covers planning, mounting, wiring, and common mistakes.
Step 1: Plan the Roof Layout
Measure your roof and map every vent, A/C unit, and antenna, because shadows from these cut panel output by 30-50% during peak hours. Leave room for airflow under the panels, and choose locations where panels sit clear of moving shadows. A simple tape-measure layout on paper saves hours during installation.
Decide between rigid panels and flexible panels. Rigid panels are more efficient and last longer; flexible panels mount flush but run hotter and wear faster. Most owners choose rigid panels with brackets that allow airflow underneath.
- Map vents, A/C, and antennas
- Avoid shadows during peak sun hours
- Allow airflow under rigid panels
- Rigid panels beat flexible for longevity
Step 2: Mount the Panels Without Leaks
Mounting is where most DIY installs fail. Use the kit’s brackets with butyl tape or a sealant rated for RV roofs, seal every screw hole, and torque the fasteners to spec. Butyl tape stays flexible as the roof expands and contracts; silicone can fail over time. If your roof has a warranty, check whether drilling voids it before you start.
Top 5 best-selling Group 14 batteries under $100
| Product Name | Short Description | Amazon URL |
|---|---|---|
|
Weize YTX14 BS ATV Battery  |
Maintenance-free sealed AGM battery, compatible with various motorcycles and powersports vehicles. | View on Amazon |
|
UPLUS ATV Battery YTX14AH-BS  |
Sealed AGM battery designed for ATVs, UTVs, and motorcycles, offering reliable performance. | View on Amazon |
|
Weize YTX20L-BS High Performance 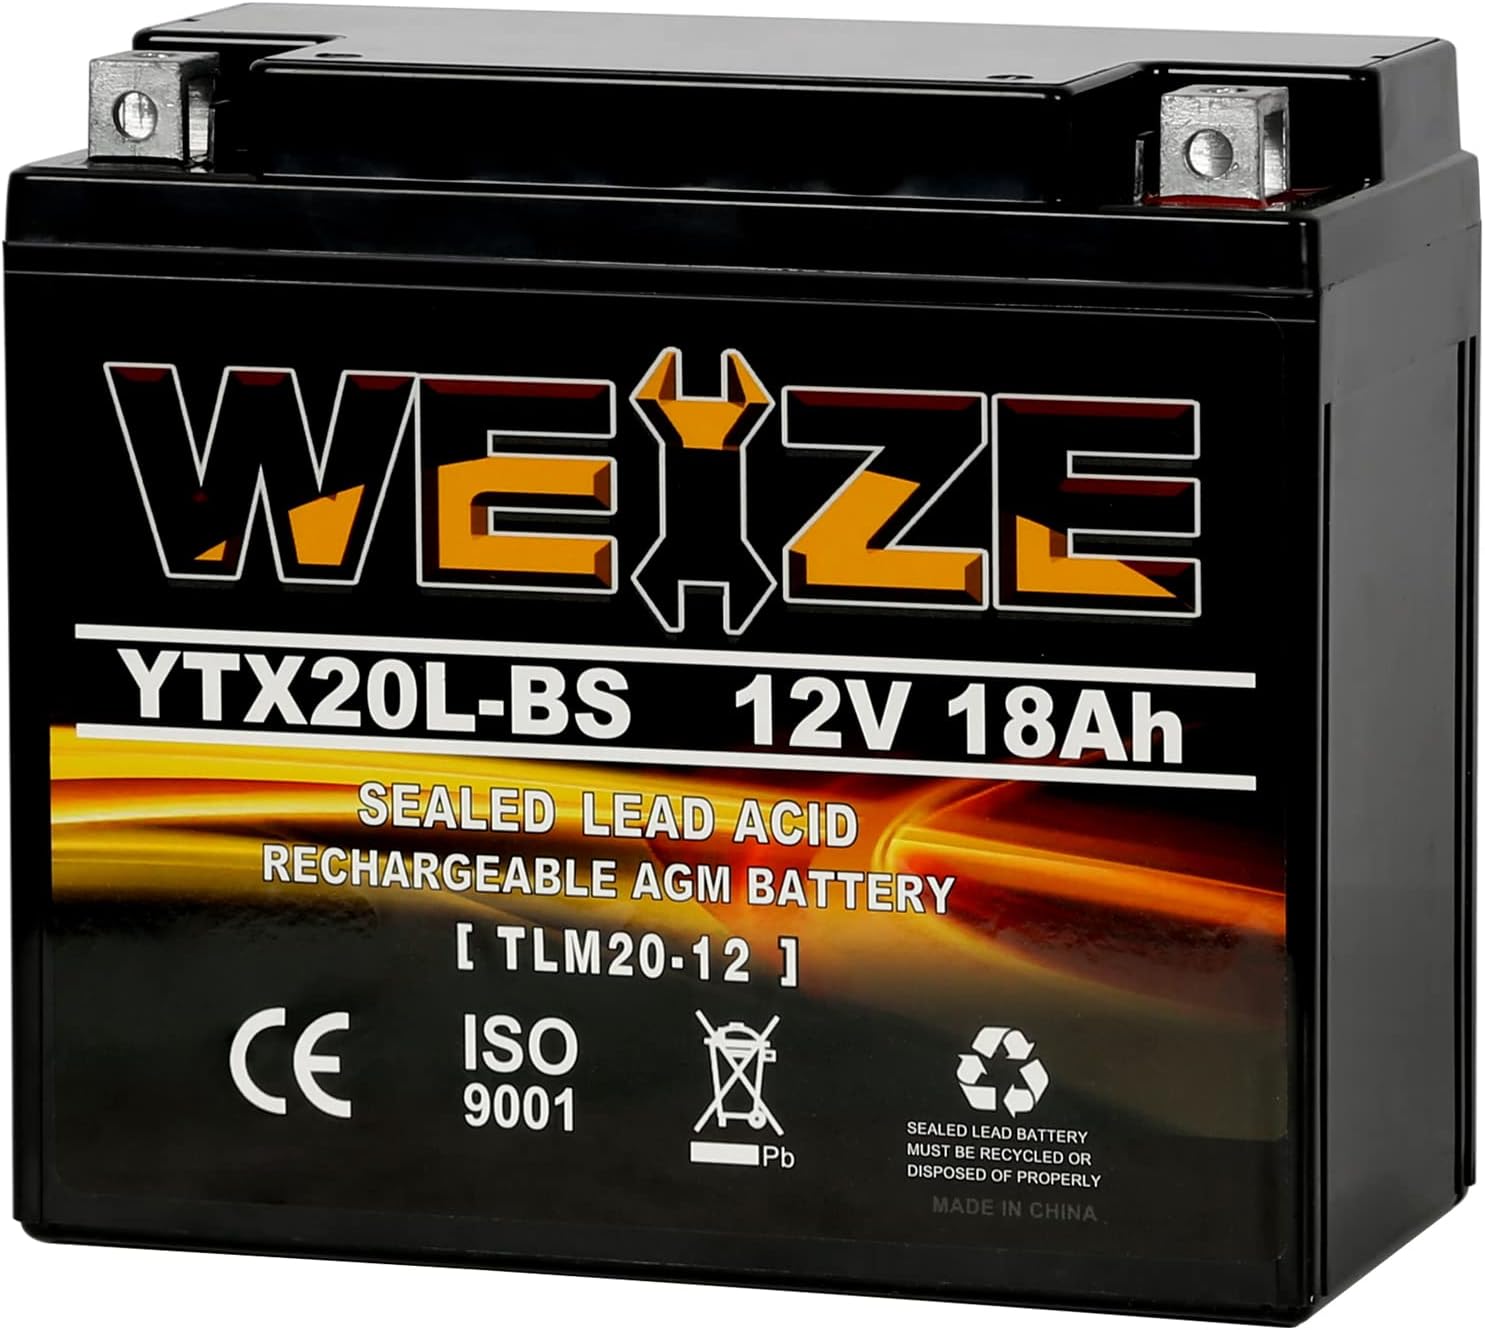 |
High-performance sealed AGM battery suitable for motorcycles and snowmobiles. | View on Amazon |
|
Mighty Max Battery ML-U1-CCAHR  |
Rechargeable SLA AGM battery with 320 CCA, ideal for various powersport applications. | View on Amazon |
|
Battanux 12N9-BS Motorcycle Battery  |
Sealed SLA/AGM battery for ATVs and motorcycles, maintenance-free with advanced technology. | View on Amazon |
After the first rain and after the first month of driving, inspect the seals. A $10 leak can become a $2,000 repair, so the extra 15 minutes of sealing is the most important part of the install.
- Use butyl tape under every bracket
- Seal every screw hole
- Check roof warranty before drilling
- Re-inspect seals after rain and driving
Step 3: Run the Wiring
Route the panel cables through a roof gland or cable entry, then down to the charge controller near the battery. Measure the actual run length before cutting cable, because a kit’s included wire is sometimes too short. Use the right gauge for the current and length, and add an inline fuse between the battery and controller.
Connect the battery to the controller first, then connect the panels. This order prevents voltage spikes that can damage the controller. Label the wires and secure them away from moving parts and sharp edges.
- Measure the cable run first
- Fuse the battery connection
- Connect battery before panels
- Secure and label all wiring
Step 4: Verify the System
After the install, check the controller display or app on the first sunny day. Confirm the panels produce the expected wattage, the battery charges to full with a lithium profile, and the system holds up during a drive. Log a weekend of boondocking to verify the array covers your daily use.
For safety and code guidance, follow the National Electrical Code guidance from NFPA and the U.S. Department of Energy solar resources.
- Verify output on the first sunny day
- Confirm lithium charging profile
- Test during a drive
- Log a weekend of real use
Specifications at a Glance
| Daily use | Panel wattage | Battery size |
|---|---|---|
| 1,000Wh | 200-300W | 100Ah lithium |
| 1,500Wh | 300-400W | 150-200Ah |
| 2,000Wh | 400-500W | 200Ah |
| 2,500Wh | 500-600W | 200-300Ah |
| Capacity | Usable energy | Typical RV days |
|---|---|---|
| 100Ah | 1,280Wh | About 1 day |
| 200Ah | 2,560Wh | About 2 days |
| 300Ah | 3,840Wh | About 3 days |
Frequently Asked Questions
Can I install RV solar myself? Yes, most 400W kits install in 4-6 hours with basic tools and careful sealing.
Will roof panels leak? Not if every mount is sealed with butyl tape and re-inspected after the first rain.
Do I need a professional? For high-current systems or roof warranties, a professional install is worth the cost.
How much does installation cost? A DIY kit costs $1,200-2,200; professional installs add $300-800 in labor.
Related reading: related guide ¡¤ related guide ¡¤ related guide. For standards and safety, see energy.